Search players, clans, cards, decks, and tournaments
Deck Archetypes
Every Clash Royale deck falls into an archetype — a game plan for how it wins. Here's each one, its key cards, and the real meta decks that play it.
An archetype is the strategy behind a deck — whether it overwhelms you with one giant push, grinds you down on defense, or cycles cheap cards to chip your tower. Understanding archetypes tells you what a deck wants to do and how to beat it. The families come first, then every specific archetype we track (click through to its live top decks).
Archetype families
Beatdown
MediumHigh (heavy)Family
Slow, heavy decks built around a high-hitpoint tank that leads an overwhelming push. You invest big and force the opponent to spend even more to survive it.
Game plan
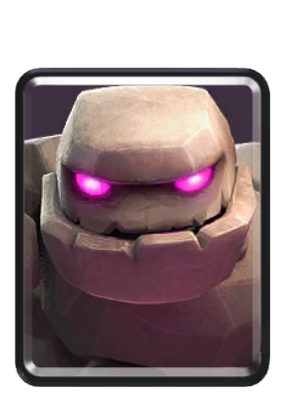
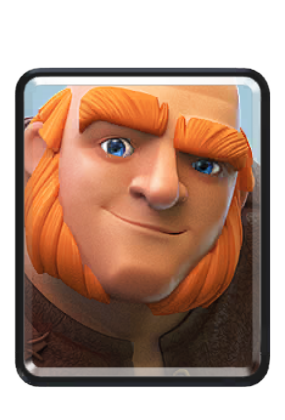
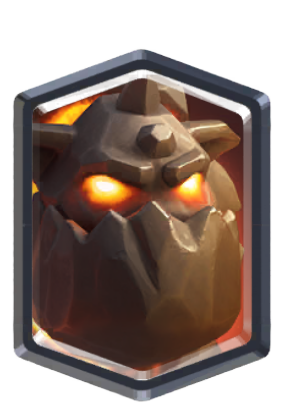
Drop your tank (Golem, Giant, Lava Hound) in the back and stack support behind it while your Elixir refills, then roll a single massive push into one lane — ideally in Double Elixir. You win by making the push cost the opponent more than it cost you, or by simply overpowering their defense. Weak to fast cycle and heavy spells that punish the back-placed tank.
Umbrella family — the site tags concrete beatdown decks by tank: Golem Beatdown, Giant Beatdown, Lava Hound, Goblin Giant, Electro Giant.
Control
HardMediumFamily
Defense-first decks that answer everything efficiently, then convert a strong defense into a measured counter-push for chip damage over the match.
Game plan
Never over-commit. Defend with positive Elixir trades, keep your win condition and spells for the right moment, and grind the opponent down a little at a time. You usually win narrowly — one tower, or on crowns — rather than three-crowning. Rewards patience and deep matchup knowledge.
Umbrella family — the site tags specific control shells such as Miner Control and Graveyard.
Cycle
HardVery lowFamily
Very cheap decks that rotate back to their win condition faster than the opponent can find the counter, winning through relentless repetition and chip.
Game plan
Play cheap, defend cheap, and keep sending your win condition every time it comes back around. Because your four-card cycle is so light, you reach your win condition and your spells first, letting you chip a tower and out-rotate slower decks. Fragile if you fall behind on Elixir or misplay a defense.
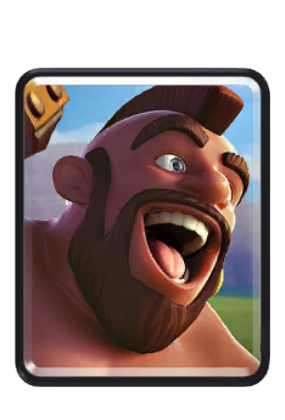
Umbrella family — the site's fastest cycle decks are tagged Hog Cycle (Hog Rider under ~3.3 avg Elixir).
Siege
HardLowFamily
Decks built around a long-range building that can hit the enemy tower from your side of the river, forcing the opponent to cross into your defenses.
Game plan
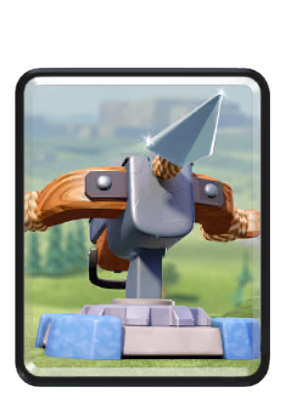
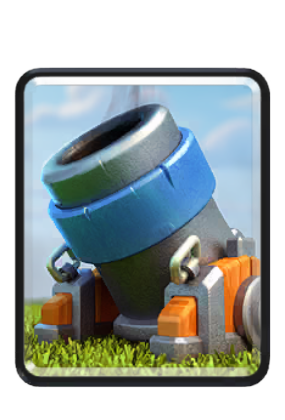
Place your siege building (X-Bow or Mortar) so it locks onto the enemy tower, then defend it with cheap troops and spells while it chips away. You control the pace: the opponent must abandon their plan and attack your side, where you hold the advantage. Very placement- and defense-intensive.
Umbrella family — the site tags these as X-Bow and Mortar.
Spell Bait
HardLow to mediumFamily
Decks stuffed with cards that all beg for the same small spell, so once the opponent uses their answer, your next threat lands unpunished.
Game plan
Flood cheap swarms and spell-vulnerable cards (Goblin Gang, Princess, Skeleton Army) to bait out the opponent's Log / Zap / Arrows, then send the card that answer would have killed — most often Goblin Barrel — for free tower damage. You win on the constant pressure of un-baitable threats. Log Bait is the classic form.
Umbrella family — the site's inferred bait archetype is Log Bait.
All archetypes
The specific archetypes Clashest tags — each links to its current best decks.
Log Bait
HardLow
The signature spell-bait deck: overload cheap ground threats so the opponent's Log (or Zap/Arrows) is always in the wrong place when the Goblin Barrel arrives.
Game plan
Chip with Princess and Goblin Gang and force out the opponent's small spell, then throw the Goblin Barrel onto the tower for a chunk of free damage. Rocket or Fireball closes out towers late. It's a chess match of managing which of your threats the opponent can answer.
The premier siege deck. The X-Bow is a long-range building that targets the enemy Princess Tower from across the river while you defend it.
Game plan
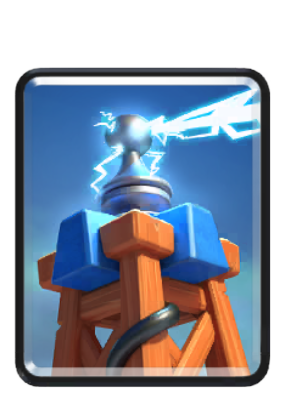
Set up the X-Bow at the bridge locked onto a tower, then defend it with Tesla, Archers, Knight and cheap spells so it keeps firing. Force the opponent to over-commit crossing the river, punish, and repeat. One of the highest skill-ceiling decks in the game — placement and cycle are everything.
The cheaper, faster-cycling cousin of X-Bow siege. The Mortar lobs shots at the enemy tower from your side and doubles as a strong defensive building.
Game plan
Place the Mortar to hit the tower, defend it cheaply, and cycle it back constantly. Many Mortar decks lean into bait as well (Goblin Gang, Knight, small spells). More aggressive and lower-commitment than X-Bow, but each Mortar deals less if left alone.
The archetypal beatdown deck. The Golem is a slow, enormous tank that splits into damaging Golemites on death, leading a huge back-loaded push.
Game plan
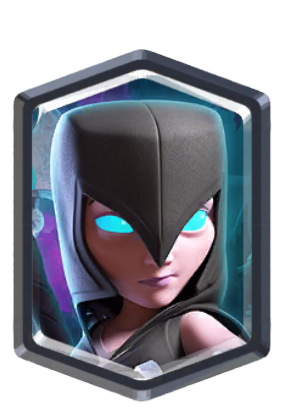
Start the Golem in the back and pile Night Witch, Baby Dragon and support behind it as Elixir builds, then commit the whole push in Double Elixir. Heavy spells (Lightning) clear the defenders in front of it. You aim to overpower the defense in one lane; you're vulnerable to fast decks that rush the other lane while your Golem is parked.
Beatdown built on the Giant — cheaper and faster than a Golem, so pushes come more often and the deck is a bit more flexible.
Game plan
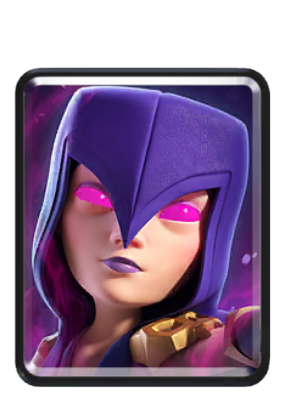
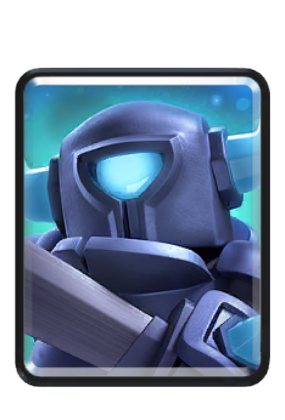
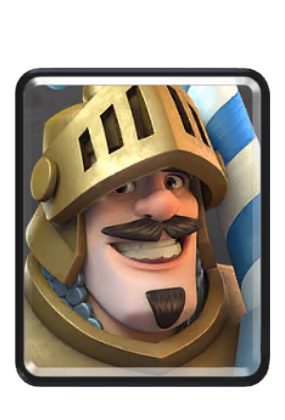
Lead with the Giant and load support (Musketeer, Witch, Mini P.E.K.K.A, Prince) behind it, using spells to clear the way to the tower. More forgiving than Golem beatdown because the Giant is cheaper to replace and easier to cycle back.
Air beatdown. The Lava Hound is a flying tank that soaks tower fire and pops into Lava Pups on death, usually paired with the Balloon ("Lavaloon").
Game plan
Float the Lava Hound up a lane to absorb damage, then send the Balloon behind it to land devastating hits on the tower. Because most of the push is airborne, it dodges ground defenses entirely — but decks with strong air defense (Musketeer, Tesla, Minions) punish it hard.
Beatdown around the Goblin Giant, a tank that carries two Spear Goblins on its back for built-in ranged damage, often paired with Sparky or a pump.
Game plan
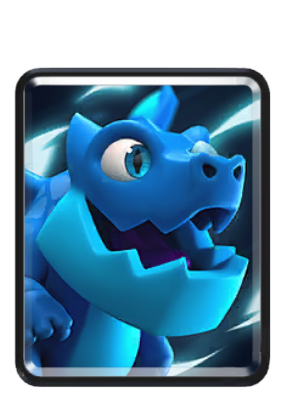
Tank with the Goblin Giant and stack a high-damage backline (Sparky, Electro Dragon, Witch). The free Spear Goblins add chip and make the push awkward to fully answer. Big, spell-vulnerable pushes that thrive in Double Elixir.
Beatdown built on the Electro Giant, a tank that zaps and stuns any troop that attacks it, punishing the opponent's own defense.
Game plan
Push with the Electro Giant behind a spell shield (often Tornado + Lightning to clear defenders) so its reflect damage shreds whatever the opponent throws in front. Slow and Elixir-hungry; it wants Double Elixir and hates being ignored while the other lane gets rushed.
The definitive cycle deck: a very cheap shell built to send the Hog Rider at the tower again and again, faster than the opponent can keep answering it.
Game plan
Defend with the cheapest possible cards, then cycle the Hog Rider back onto the tower every rotation. You out-cycle the opponent's counter (e.g. their building) and chip the tower down over the match, using small spells to clear whatever they place in the Hog's path. Extremely fast and defense-intensive; misplays cost tempo quickly.
The site tags Hog Rider decks under ~3.3 average Elixir as Hog Cycle; heavier Hog decks are tagged Hog Rider.
Hog Rider decks that aren't pure cheap cycle — mid-weight builds that still use the building-targeting Hog as the main win condition.
Game plan
Send the Hog Rider at the tower, backed by support and spells, while defending efficiently. Less about out-cycling and more about landing well-supported Hog pushes and winning the resulting Elixir trades.
Distinct from Hog Cycle: the site tags Hog decks at or above ~3.3 average Elixir here.
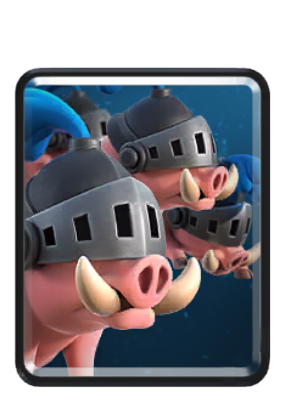
A wide, dual-lane pressure deck built on the Royal Hogs — four fast building-targeting hogs that split across the lane and are usually paired with Earthquake.
Game plan
Send the Royal Hogs to the bridge, often behind a mini-tank, and use Earthquake to chip the tower and disable defending buildings. Pressure both lanes and force the opponent into awkward splits. Rewards fast, aggressive rotations.
Built around the Royal Giant, a ranged tank that attacks the tower from a distance so it doesn't even need to reach it, backed by defensive support.
Game plan
Drop the Royal Giant at the bridge to start hitting the tower from range, then defend it and win the counter-trades. Often played as a low-average shell (Royal Giant cycle) with Fisherman, Electro units and small spells to neutralize the opponent's counters. Punishing and consistent.
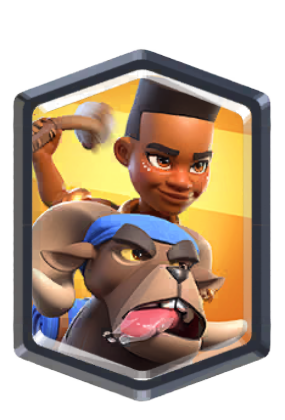
Fast-tempo pressure built on troops you drop straight at the bridge — Battle Ram, Ram Rider, Bandit, Royal Ghost — to punish the opponent the instant they over-commit.
Game plan
Watch the opponent's Elixir. The moment they invest in a push or a pump, spam your bridge threats into the opposite lane so they can't defend both. It's about tempo and read-based aggression rather than one big push — you win by never letting them settle.
Bridge-pressure and control hybrid built on the Ram Rider, whose rider snares defenders while the ram charges the tower.
Game plan
Use the Ram Rider as a fast, snaring win condition to punish over-commitments, backed by strong defensive troops and spells. Plays like an aggressive control deck — defend well, then send the Ram when the opponent is out of position.
Decks anchored on the Balloon, a flying win condition that deals massive damage to the tower — one connection can swing a game.
Game plan
Protect the Balloon on its way to the tower (behind a tank, or after clearing air defense) and cash in the huge hit. Variants include Lavaloon (with Lava Hound) and faster support builds. High risk, high reward — if the Balloon is stopped clean, you've lost a big Elixir trade.
Control decks built on the Graveyard spell, which spawns a stream of skeletons on the enemy tower — a soft win condition that demands a precise answer.
Game plan
Defend efficiently and drop the Graveyard on the tower (often behind a tank like Giant or Knight, and paired with Poison to clear the defender's swarm). The opponent must have the right counter ready or take heavy damage. A patient control deck that wins on chip and good spell timing.
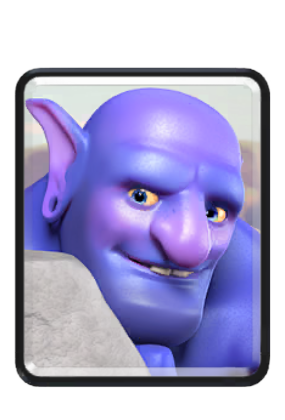
A Graveyard control variant loaded with splash and pull tools (Bowler, Baby Dragon, Ice Wizard, Tornado) so its defense is nearly airtight before the Graveyard goes down.
Game plan
Shut down pushes completely with layered splash damage and Tornado value, then convert that rock-solid defense into a Graveyard-plus-Poison offense. Slower and more defensive than a lean Graveyard deck, trading tempo for control.
The site tags a Graveyard deck as Splashyard when it also runs at least two of Bowler, Baby Dragon, Ice Wizard, or Tornado.
Decks built on the Goblin Drill, a burrowing building that surfaces next to the enemy tower and spits out Goblins — a chip win condition that ignores the river.
Game plan
Deploy the Drill near the tower for guaranteed chip and to bait spells, while defending with efficient troops. Often blended with control or bait shells (Miner, small spells). Whittles the tower down and forces reactive plays.
Control decks that use the Miner — a cheap troop that tunnels to any spot on the arena — as a chip win condition and spell-bait, grinding the tower down over the match.
Game plan
Defend with tight, positive trades and repeatedly send the Miner onto the tower (often with Poison to clear its swarm), chipping a little every rotation. A patient, trade-driven deck that wins narrow games on accumulated chip rather than one big push.
Fast cycle/pressure decks that use the cheap, suicidal Wall Breakers as a chip win condition — they charge the tower and explode on contact.
Game plan
Cycle the Wall Breakers to the tower whenever a lane is open, backing them with a distraction so they connect. Frequently paired with Miner for double chip pressure. Cheap and fast, but each Wall Breaker is easily blocked, so timing and reads matter.
Decks anchored by the Mega Knight, a heavy splash tank that jumps onto troops on arrival and on cooldown — strong on defense and as a bridge-spam bruiser.
Game plan
Use the Mega Knight to obliterate swarms and support pushes on defense, then ride the counter-push to the tower, often alongside bridge-spam threats. Forgiving on defense but Elixir-heavy and vulnerable to being kited and to single-target counters like Inferno.
Beatdown/split-push decks built on the Three Musketeers, a 9-Elixir card of three ranged troops that split across lanes for enormous two-lane pressure.
Game plan
Split the Three Musketeers behind an Elixir Collector's tempo advantage, pairing each pair/single with a tank (Battle Ram, Elixir Golem) to force damage in both lanes at once. The opponent can't answer both, but a well-timed Fireball or Rocket punishes the whole play — the highest-Elixir, highest-risk archetype in the game.
Beatdown built on the Elixir Golem — a cheap tank that gives the opponent Elixir when it dies, so you must connect for value rather than trade it away.
Game plan
Lead with the Elixir Golem and pile support (Battle Healer, Night Witch, Electro Dragon) behind it, using its low cost to build overwhelming pushes fast. Because a killed Elixir Golem refunds the opponent, the deck lives or dies on making its pushes land. Fast-building but punishing to misplay.
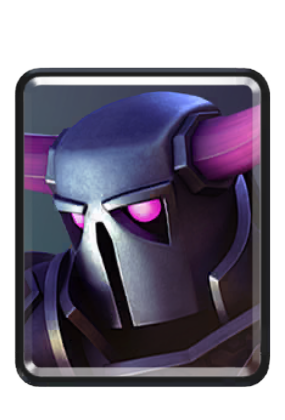
Control/bridge-spam decks anchored by the P.E.K.K.A, a slow single-target juggernaut that annihilates tanks and champions on defense before leading a counter-push.
Game plan
Hold the P.E.K.K.A for the opponent's tank or big threat, delete it, then swing into a bridge-spam counter-push with Bandit, Battle Ram and Royal Ghost. A defensive-into-offense deck that punishes over-commitment. Weak to swarms that surround the P.E.K.K.A, so it leans on splash support and small spells.
Cheap air chip/bait decks using the Skeleton Barrel — a flying barrel that floats to the tower and drops a swarm of skeletons on arrival.
Game plan
Float the Skeleton Barrel at the tower to bait spells and chip, often alongside Miner or bridge-spam pressure. Its dual air-and-swarm threat is awkward to answer cleanly with one card. A cheap, tempo-driven deck that grinds chip damage over the match.
The main families are Beatdown (a heavy tank push), Control (out-defend and chip), Cycle (a cheap deck that out-rotates you to a win condition), Bait (force out your counters then punish), Siege (X-Bow or Mortar attacking from your side) and Bridge Spam (fast units at the bridge before you can react). Most specific decks are a version of one of these built around a particular win condition.
Which Clash Royale archetype is best for beginners?
Cheap cycle decks like Hog Cycle and straightforward Beatdown decks are the most beginner-friendly — they have a clear game plan (cycle to your win condition, or build one big push). Bait and Siege reward more experience because they depend on reading and baiting the opponent's cards.
How is a deck's archetype decided on Clashest?
We infer each deck's archetype from its cards and average elixir — the same system that powers the archetype filter on the decks page. Click through any archetype below to see the real top decks currently playing it.
Archetype identities compiled from the Clash Royale Wiki, RoyaleAPI and community guides (mid-2026). Which specific decks are strongest shifts with the meta — the deck links above always reflect the live corpus.